
This week’s illustrated lesson includes seven almost easy steps to build a patio which will improve the appearance and value of your property and will encourage you to spend more healthful hours outdoors. (NOTE: The writer is not responsible for damage to persons, property or marriages.)
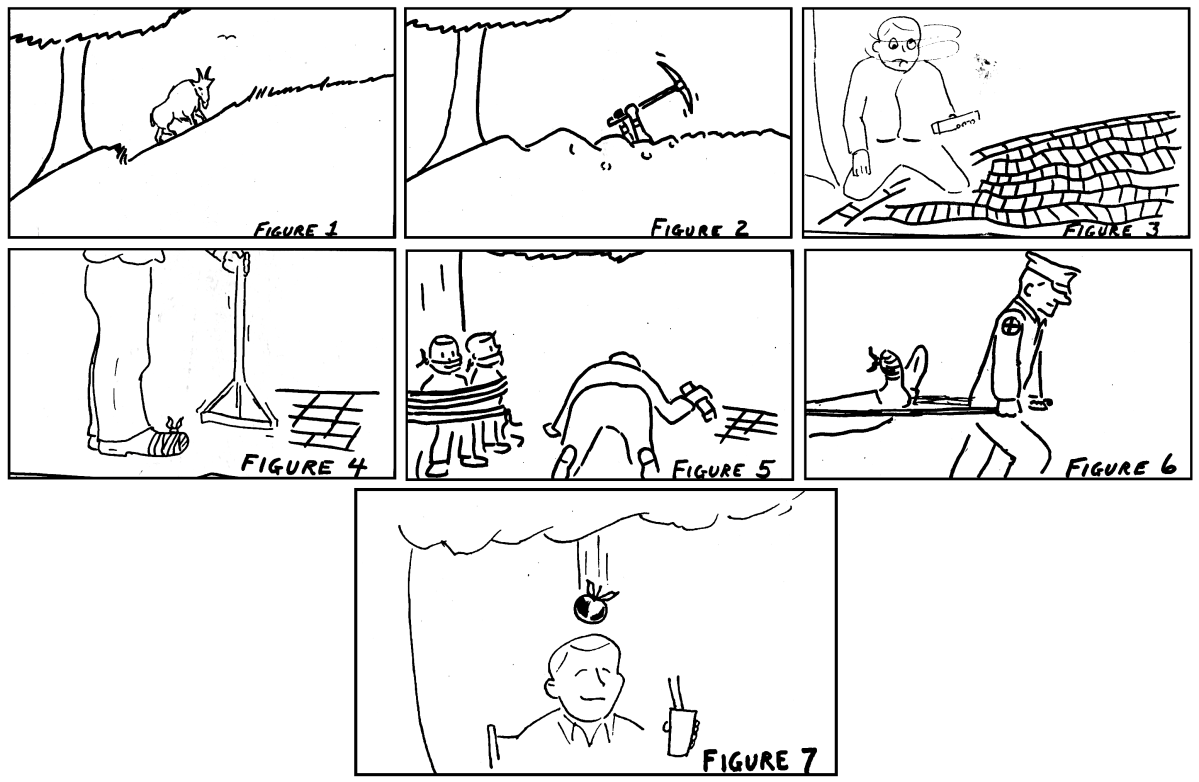
Figure 1: Select a shady, flat as possible location to minimize grading work. Well, do the best you can.
Figure 2: Level the ground by simply moving the earth from the too high spots to the desired low spots. This is called by landscapers, “The earth moving stage.” (Some have added unprintable adjectives which cannot be included here.)
Figure 3: After bordering the area with railroad ties and spreading two inches of sand, lay your bricks or tiles in an orderly, eye-pleasing pattern unless you’re an abstract expressionist fan.
Figure 4: Tamp down the bricks or tiles snugly while wearing steel-toed safety shoes to avoid including your feet in the tamping.
Figure 5: This stage involves crowd control. You must not lose concentration on the many important details of the project. Constant bystander questions, suggestions and criticisms about design and construction must be eliminated.
Figure 6: There might be interruptions and delays caused by bad weather, faulty materials or complete exhaustion, but carry on and don’t be too proud to call for help.
Figure 7: One of life’s satisfying moments. The job is done and you are about to enjoy the fruits of your labor.
